| Authors: |
Lev Manovich (manovich.lev at gmail.com) Matias Giachino (matias.giachino at gmail.com) Jay Chow(jaychow0702 at gmail.com) |
| History: |
2012/01/05: First version. |
| Installation: | Download Image_Montage.txt to the plugins/Macros folder, restart ImageJ or click Help>Update Menus and there will be a new Image Montage command in the Plugins/Macros menu. |
| Description: |
ImageMontage creates montages of images without the need to load them into a stack first. The source images can be located in one or multiple directories. The images can also have different sizes. To fit images into a montage, the macro scales them vertically to the same user-specified size. Images are added horizontally until they no longer fit on the row and then a new row is started. This process is repeated until all source images are rendered. If you see that the generated montage does not include all source images, change the options to reduce the size of images and/or increase canvas dimensions, and run the macro again.
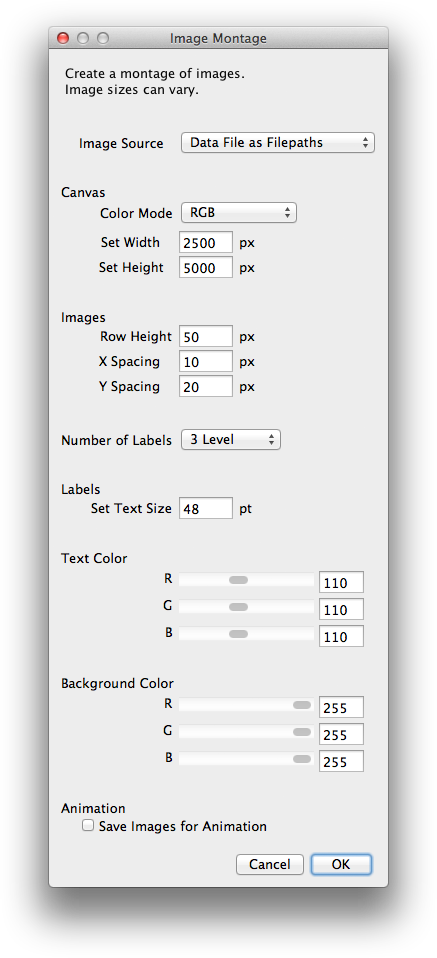 Image Source: Lets you choose the method for image selection. Folder uses all the images in a specified folder. Folder and Subfolders find all the images in both the specified folder and all subfolders. Data File lets you specify a tab-delimited text file with a column of image filenames to use. Data File as Filepaths works like the Data File option but expects absolute paths to the files instead of just filenames. Color Mode: Determines whether to create a grayscale or RGB montage. Set Width and Set Height: Set the size of the montage in pixels. Row Height: Images are resized to the new height before being placed into the montage. X Spacing and Y Spacing: Set the X and Y spacing (in pixels) between montaged images. Number of Labels: Sets the number of levels used to organize montage (1, 2, or 3). Set Text Size: Set the size of the label text. Text Color: Set the color of the label text. Background Color: Set the color of the montage background. Examples: Montage visualization of 33,292 Instagram photos shared in Tel Aviv during April 20-26, 2012, sorted by hue (top to bottom, right to left).
Montage visualization of 33,292 photos Instagram photos shared in Tel Aviv during April 20-26, 2012, sorted by upload date (top to bottom, left to right).
A montage of 72 Vincent van Gogh paintings with varying sizes.
The same montage with added space between the images.
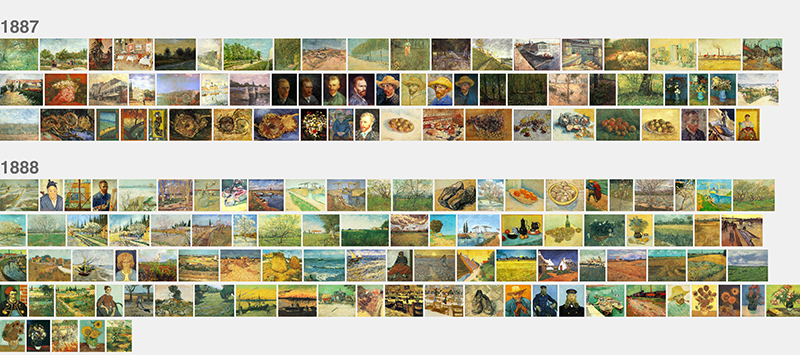
The following three montages demonstrate the use of levels to organize the images. They are made with this data file. The macro prompts you to chose the columns to use for the level 1, level 2, and level 3 (so these columns can appear in any order in the data file). The data file should be sorted by level 1 column, then by level 2 column, then by level 3 column. 1 level montage of Vincent Van Gogh's paintings created between summer 1887 and summer 1888 (level 1: year).
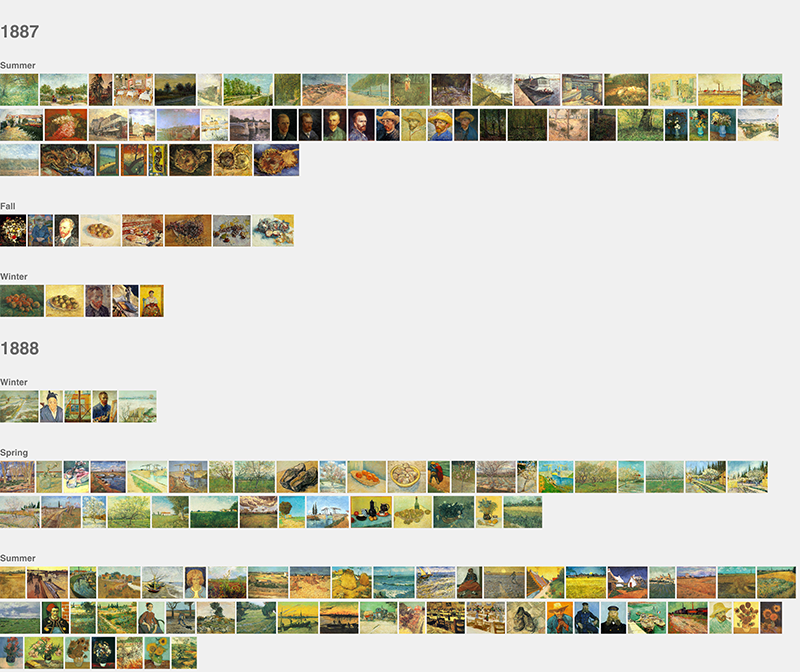
2 level montage of the same image set (level 1: year; level 2: season).
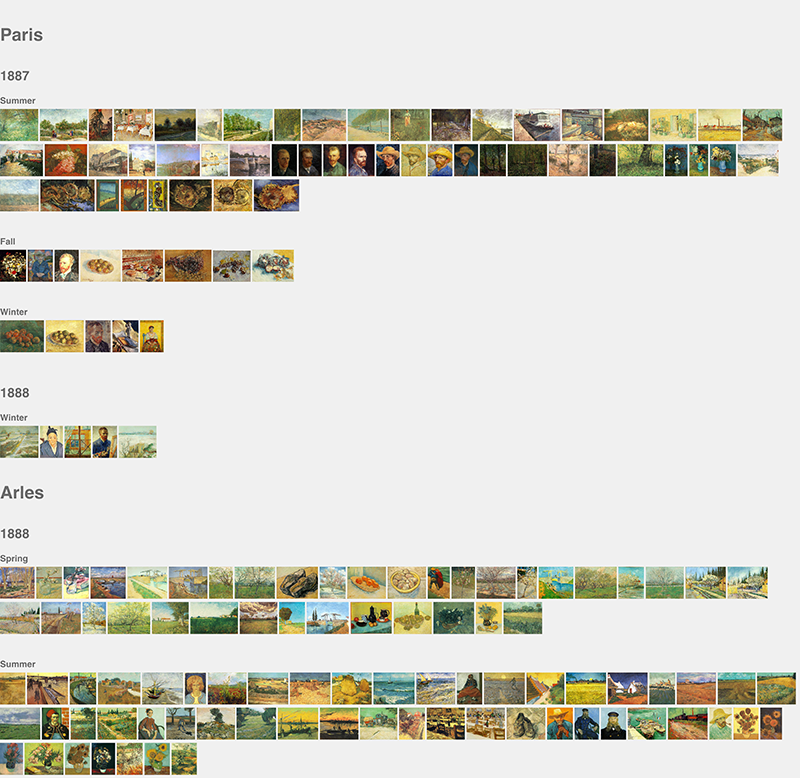
3 level montage of the same image set (level 1: place; level 2: year; level 3: season).
|
| See Also: |
Custom Montage RC Montage |